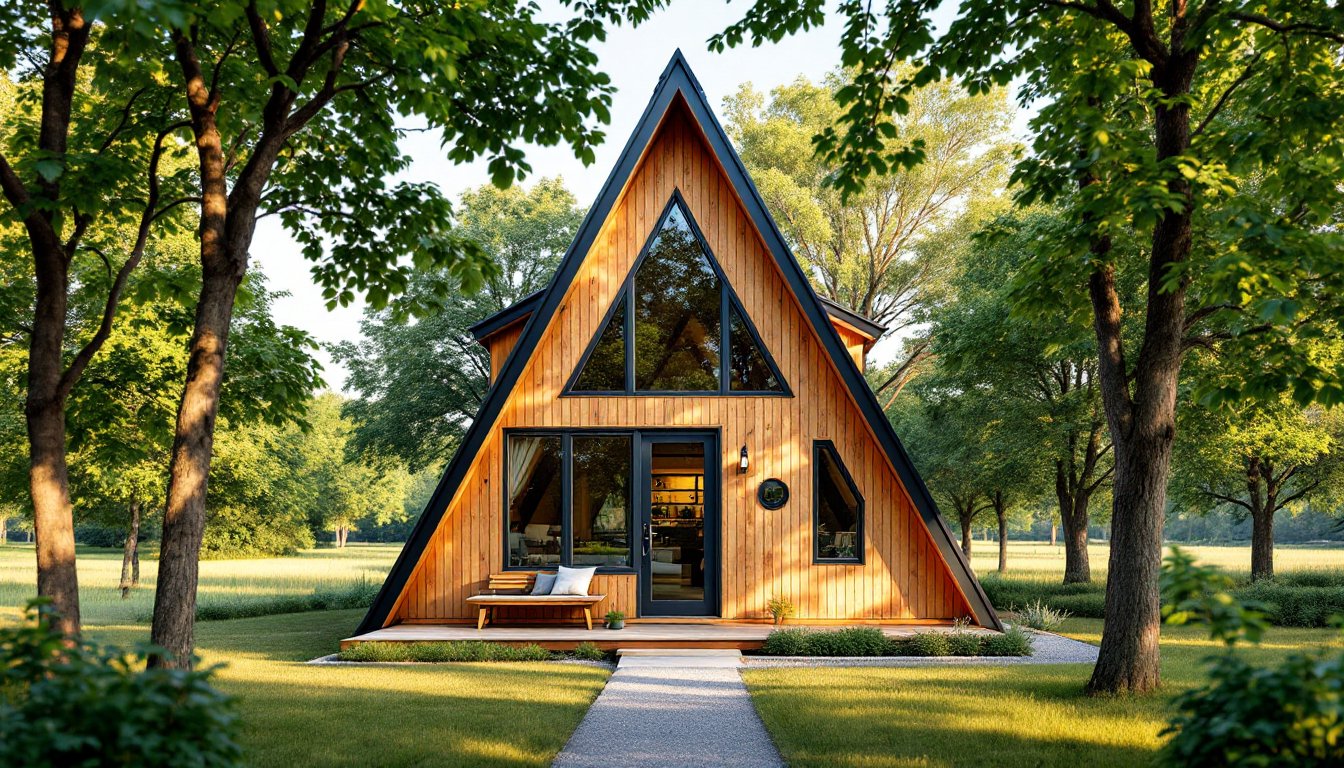
An A-frame tiny house combines iconic architecture with minimalist living. This distinctive design, with its steep, sloping roofline that meets at a peak, isn’t just visually striking: it’s incredibly efficient. A-frame tiny houses have surged in popularity over the past few years as homeowners seek affordable, sustainable, and unconventional housing solutions. Whether you’re drawn to the cozy cabin aesthetic, the cost-efficiency, or the environmental benefits, understanding what goes into building or buying an A-frame tiny house is essential. This guide walks you through the fundamentals, design strategies, costs, and practical steps to make your compact dream home a reality.
Table of Contents
ToggleKey Takeaways
- A-frame tiny houses maximize vertical usable space and cost efficiency by requiring less framing lumber and roofing material than conventional homes, with basic builds ranging from $30,000 to $60,000.
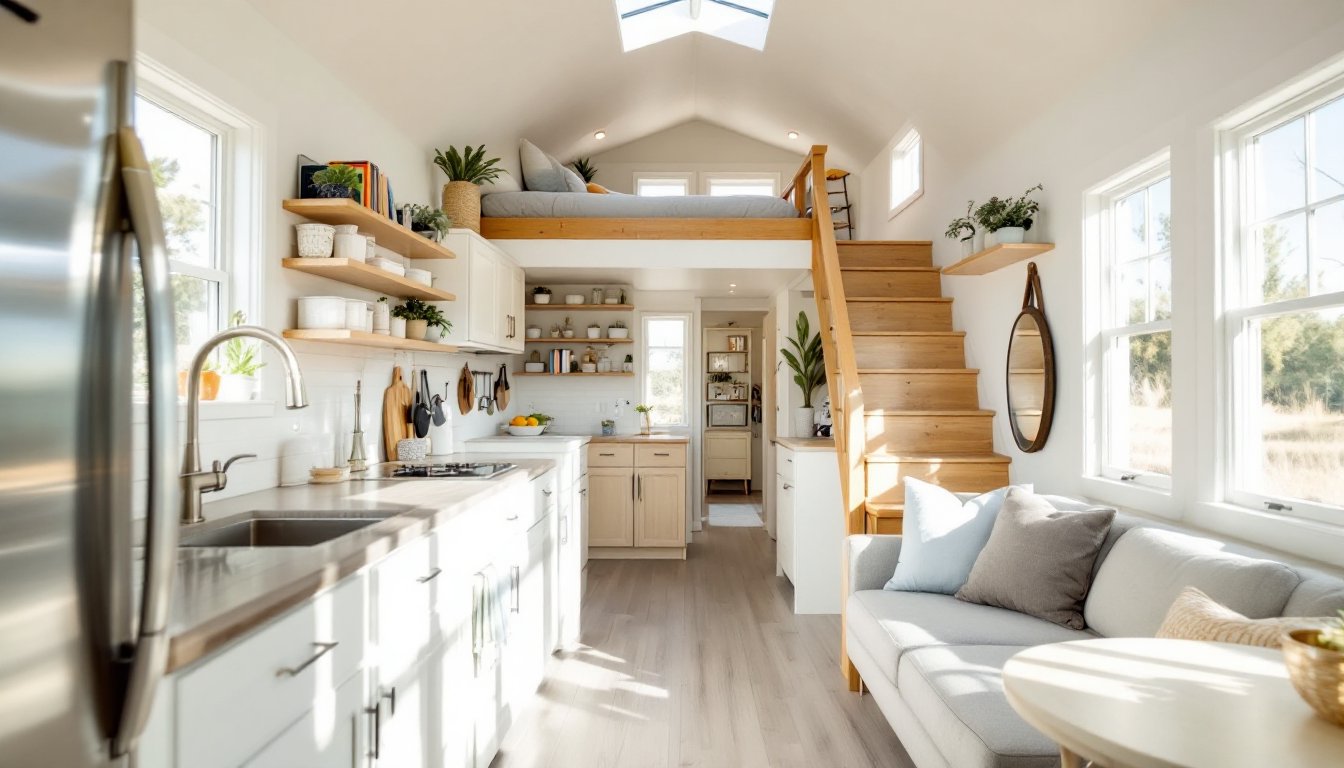
- Smart design strategies for A-frame tiny homes include vertical storage, multi-purpose furniture, strategic window placement, and light color palettes to create a spacious feel in 200–400 square feet.
- Zoning compliance and permitting are critical before purchasing land or starting construction—contact your local building department to confirm your site allows tiny houses or ADUs.
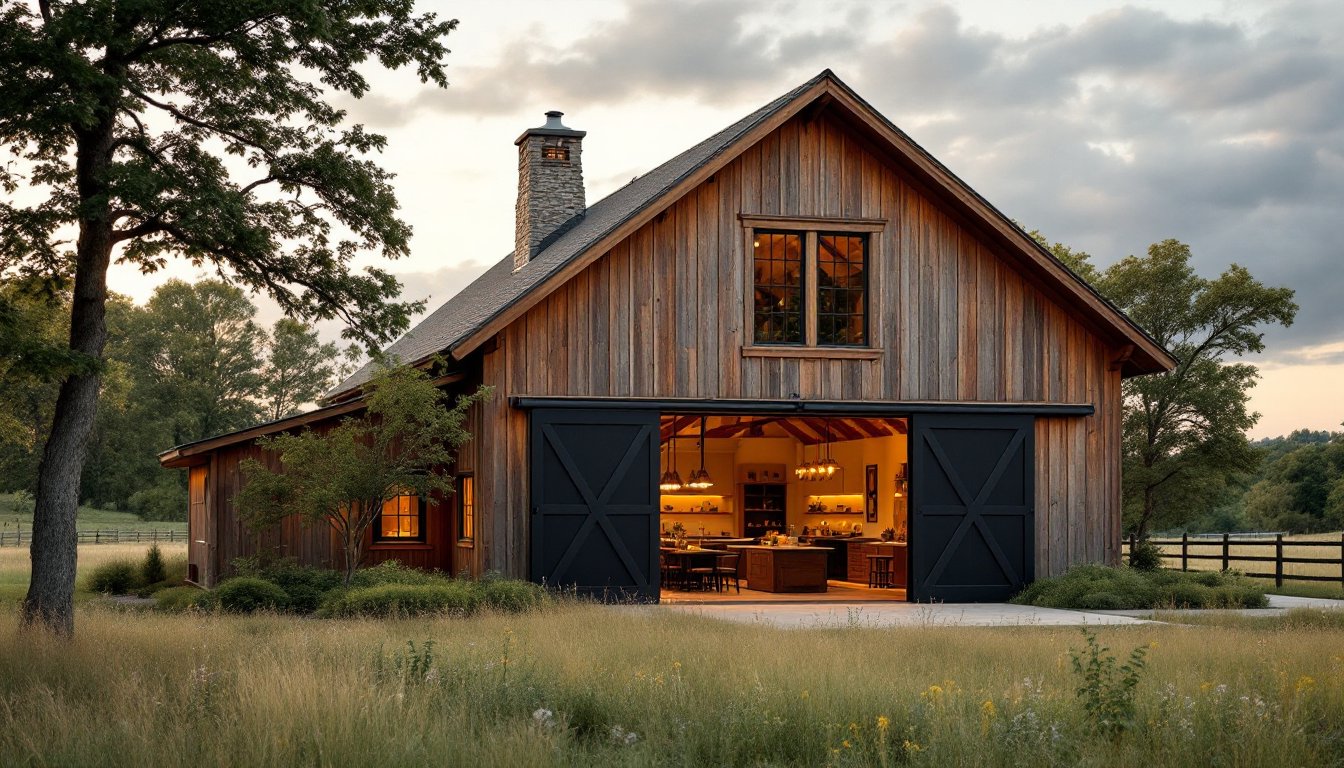
- A-frame tiny houses shed weather efficiently and appeal to the minimalist movement due to their affordability, sustainability, and iconic aesthetic rooted in barn and ski-lodge architecture.
- From site selection through move-in, a successful A-frame build requires seven key steps: assessing your situation, scouting land, choosing a design, obtaining permits, managing materials, coordinating construction, and completing final inspections.
What Are A-Frame Tiny Houses and Why They’re Trending Now
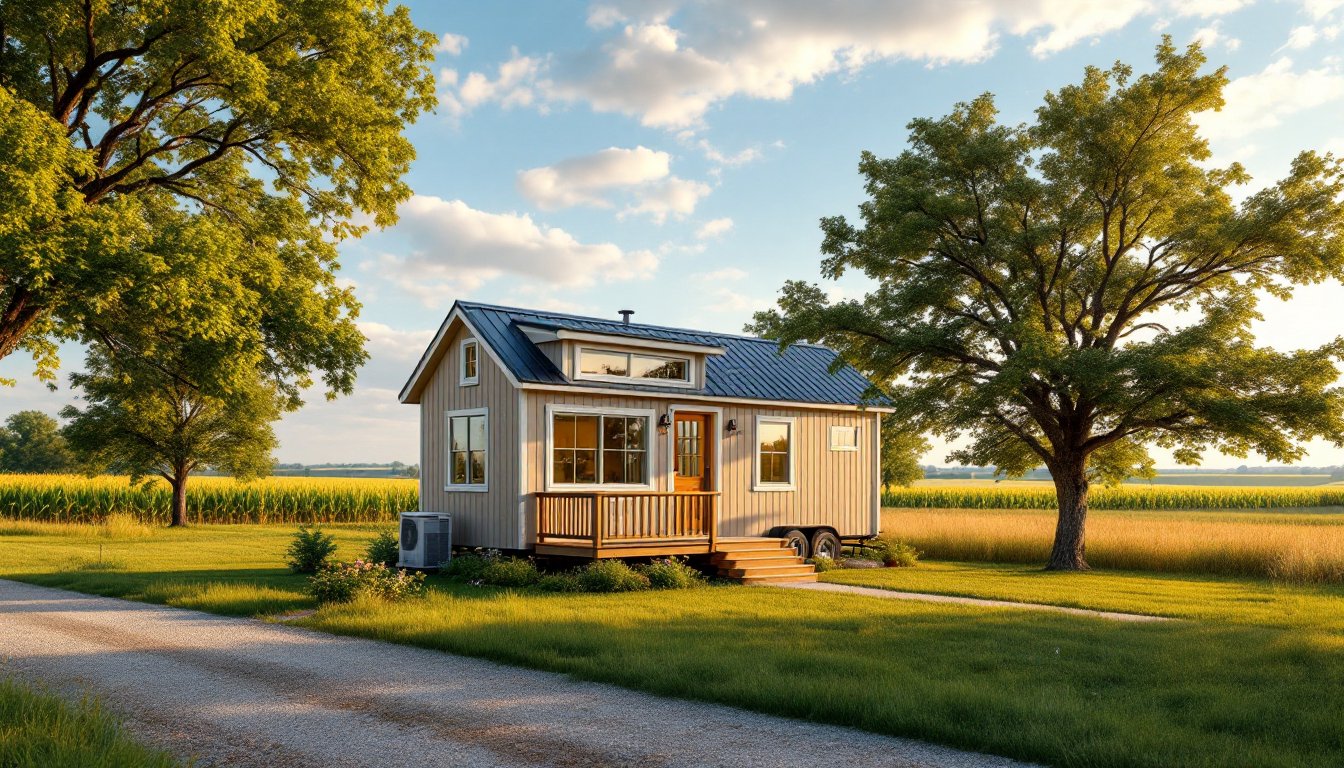
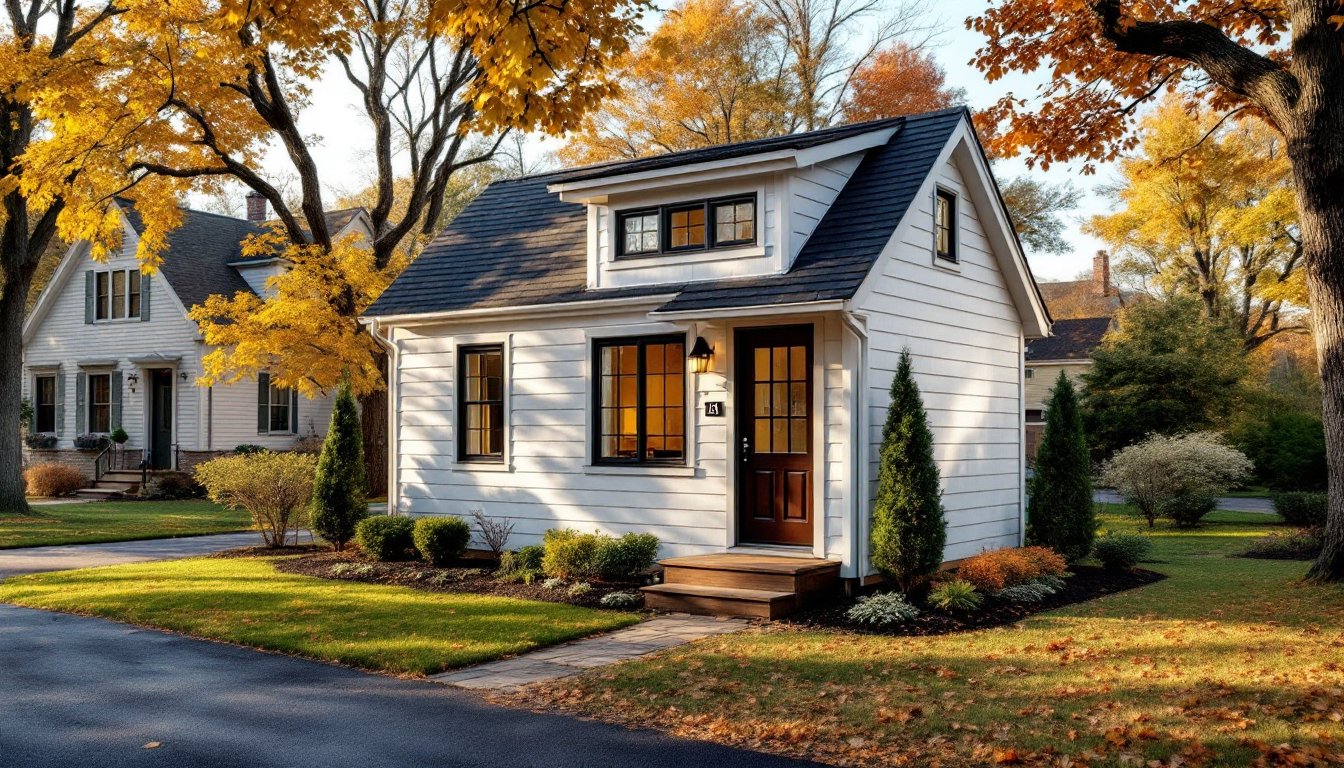
An A-frame tiny house is a small dwelling (typically 200–400 square feet) built with a distinctive triangular profile, imagine the letter A. The two sloped roof planes meet at the ridge and extend nearly to ground level, creating abundant headroom at the center and minimal wasted space. This shape has roots in centuries-old barn design and 1950s ski-lodge architecture, but modern builders have adapted it brilliantly for off-grid living, accessory dwelling units (ADUs), and minimalist homeowners.
Why the surge in 2026? The reasons stack up quickly. First, the economics: A-frames require less framing lumber and roofing material than conventional rectangular houses, trimming construction costs. Second, aesthetics, the form appeals to Instagram-savvy buyers and design-conscious DIYers. Third, practicality: the shape sheds snow and rain efficiently, which matters for durability. Finally, they align with the tiny-house movement’s core values of affordability, sustainability, and intentional living.
Unlike a standard tiny house, the A-frame’s geometry maximizes vertical usable space. You can fit a lofted bedroom, high ceilings in living areas, and storage nooks that wouldn’t exist in a rectangle. Building codes in many jurisdictions have begun accommodating tiny-house ADUs, making A-frames an attractive option for homeowners looking to generate rental income or house aging parents on their property.
Design and Layout Essentials for A-Frame Tiny Homes
Maximizing Vertical Space and Natural Light
The A-frame’s sloped walls demand thoughtful layout. Bedrooms and storage thrive in the lofted areas where headroom is highest, while the open floor plan below, living room, kitchen, dining, benefits from the cathedral-like center volume. When designing your layout, place functional zones vertically: sleeping and storage up high, movement and gathering down low.
Window placement is critical. A-frames can feel dark if windows cluster only on the narrow front and back walls. Break that pattern by adding windows on the upper slopes (install venting skylights or fixed glazing rated for sloped installation). South-facing glass in cold climates collects passive solar heat: deep overhangs and awnings prevent summer overheating. Reflective interior finishes, light-colored walls, polished concrete or light wood flooring, bounce available light throughout the space. Remember that small space living ideas emphasize open sightlines and minimizing visual clutter, both of which enhance the sense of spaciousness in tight quarters.
Building codes require adequate ventilation. Many A-frames use a ridge vent paired with soffit vents to prevent moisture buildup in the roof cavity, especially important for tiny house insulation and long-term envelope durability. If you’re adding upper-slope windows, ensure they meet local egress (emergency exit) requirements, typically a minimum clear opening size if bedrooms are located aloft.
Cost and Building Considerations for A-Frame Tiny Houses
Budget depends heavily on location, foundation type, finish level, and whether you’re building from scratch or buying a pre-built unit. A basic DIY or contractor-built A-frame on a concrete slab can range from $30,000 to $60,000 for materials and labor, while a fully finished, off-grid-capable unit with high-end finishes and a trailered chassis runs $80,000–$150,000 or more.
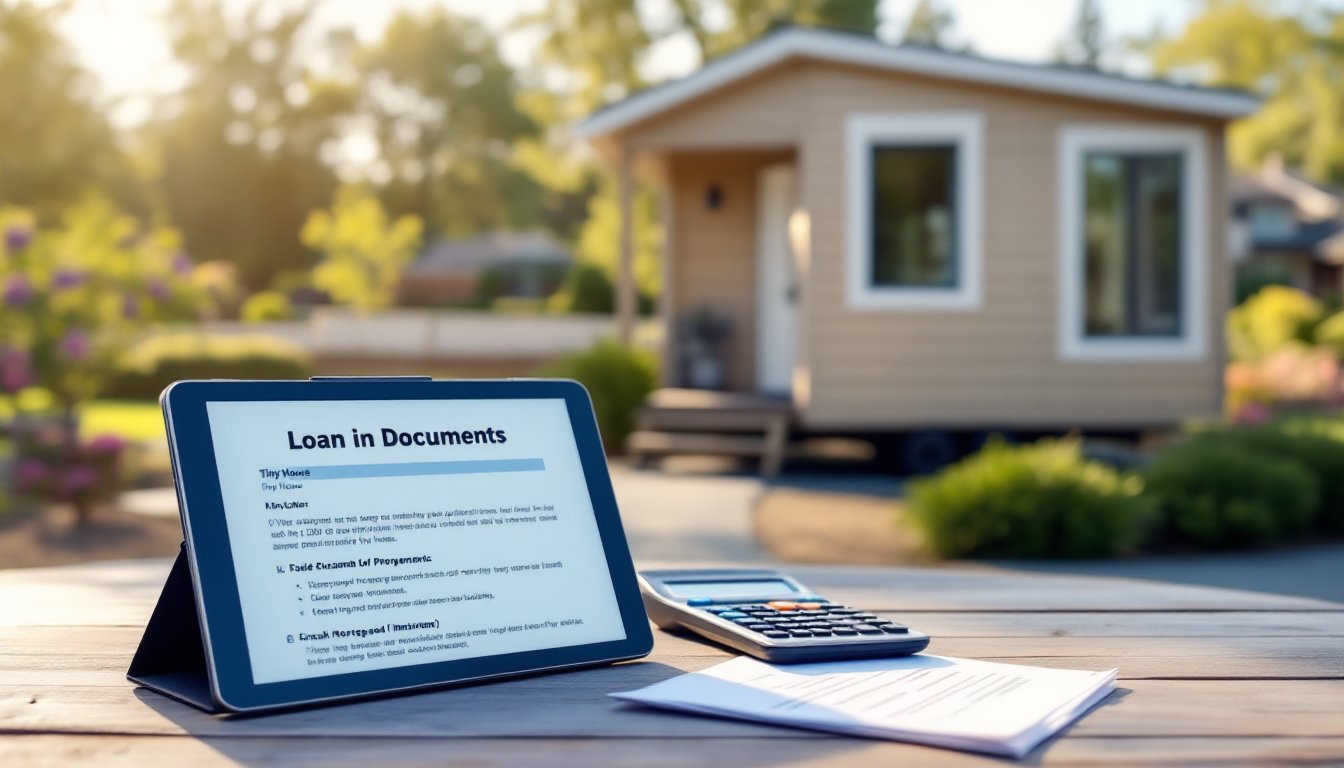
Foundation choices affect cost and permanence. A concrete slab works for stationary tiny homes and costs $3,000–$8,000. A full basement or crawlspace adds insulation value and storage but doubles foundation expense. If mobility is important, a trailer-mounted A-frame simplifies financing and legal status in many jurisdictions, though it limits customization and requires proper towing infrastructure.
Permitting varies by jurisdiction. Some regions classify tiny houses as ADUs with expedited approval: others treat them as new dwellings requiring full inspection. Check your local planning and zoning departments before purchasing land or materials. Structural engineers should stamp designs if the A-frame exceeds certain footprints or roof loading (especially in snow-heavy areas). Don’t skip this step, an unsigned design that fails inspection wastes months and money.
Material sourcing impacts budget significantly. Reclaimed wood tiny home designs leverage salvaged beams and siding, cutting both cost and environmental impact if sourcing is local and prices are fair. Pressure-treated lumber for foundation components, standard 2×6 or 2×8 rafters for the A-frame skeleton, and quality underlayment and roofing are non-negotiable for durability.
Interior Design Tips to Make Your A-Frame Feel Spacious
Compact doesn’t mean cramped if you plan smartly. Commit to a cohesive color palette, neutral walls with 1–2 accent colors keep the eye from fracturing. Light wood or white ceilings and walls expand perceived volume: dark or overly patterned surfaces close it in.
Multi-purpose furniture is your ally. A kitchen island with seating doubles as workspace and dining. Lofted beds with storage underneath reclaim square footage. Wall-mounted shelving beats bulky bookcases. Folding tables and nesting pieces offer flexibility. Built-ins, shelves, benches, drawers, fit snugly into A-frame corners and slope without wasting dead space.
Vertical storage exploits the height you’ve got. Tall, narrow cabinets run from floor to ceiling: hooks and pegboards claim wall real estate. Avoid floor clutter by mounting TVs, floating shelves, and pendant lights. Open shelving above kitchen counters and around bathroom mirrors creates airiness (though only if items are organized: chaos feels smaller).
Lighting layers matter tremendously. Recessed ceiling lights, track fixtures, and adjustable task lighting (under-cabinet strips in the kitchen, vanity bulbs in the bath) let you tailor brightness without heavy fixtures. Skylights and upper-slope windows flood the interior with daylight, reducing reliance on electric light during the day and reinforcing the sense of volume. Home organization tips advocate for minimalism and intentional decor, in an A-frame, every object should earn its place.
Practical Steps to Build or Purchase Your A-Frame Tiny House
Step 1: Assess Your Situation. Decide whether you’ll buy a pre-built A-frame, hire a contractor, or DIY. Pre-built units (available from companies specializing in kit homes or custom builders) cost more upfront but arrive inspection-ready. Hiring a contractor removes design and permitting headaches but reduces customization. DIY builds save money but demand time, skill, and careful attention to codes.
Step 2: Scout Land and Zoning. Before designing or ordering, confirm your site is zoned for a tiny house or ADU. Contact your local building department and review setback, height, and lot-coverage requirements. Some jurisdictions restrict tiny houses to designated tiny-home communities or require minimum acreage. A 2-acre parcel zoned residential offers more freedom than a quarter-acre suburban lot.
Step 3: Choose a Design or Hire an Architect. Existing A-frame plans are available online and via home-plan catalogs (typically $300–$1,500). For custom designs, consult an architect or designer familiar with tiny-house codes: expect $2,000–$8,000 depending on complexity. Your design must address tiny house electric setup (panel sizing, circuit distribution), plumbing (compact fixtures, freeze-protection if off-grid), HVAC (mini-splits are popular), and insulation strategy.
Step 4: Obtain Permits and Inspections. Submit your plans, apply for permits, and schedule framing, electrical, plumbing, and final inspections. Don’t skip this, unpermitted work complicates insurance and resale. Many jurisdictions now fast-track ADU permits: clarify timelines with your building department.
Step 5: Manage Material Delivery and Storage. Order long-lead items (windows, doors, HVAC units) early. Lumber and roofing materials need dry storage: weather-exposed materials deteriorate quickly. Account for material acclimation if the tiny house will be in a humid climate, solid wood flooring and doors should rest on-site for 1–2 weeks before installation.
Step 6: Build or Coordinate Construction. If DIYing, prioritize foundation, framing, and roof completion before interior work. Protect the interior from weather before wiring and plumbing. If hiring, establish a project timeline and hold regular walkthroughs. Many A-frame builds take 3–6 months depending on complexity and crew availability.
Step 7: Final Walkthrough and Move-In. Inspect every system, electrical, plumbing, HVAC, appliances. Verify all utilities are connected, permits are signed off, and insurance is active before moving in. For a more comprehensive overview of tiny-house living, explore suburban tiny homes and the broader tiny homes archives on Chipotloco for context-specific insights.
Conclusion
An A-frame tiny house is more than a trendy design, it’s a practical, economical solution for anyone serious about downsizing or building affordably. From site selection through move-in, the process demands attention to permits, smart layout, and quality finishes. Whether you’re building on a permanent foundation or a trailer chassis, the fundamentals remain: maximize vertical space, control costs, and design for both function and joy. With careful planning and realistic expectations, your A-frame can become the efficient, low-maintenance home you’ve been imagining.