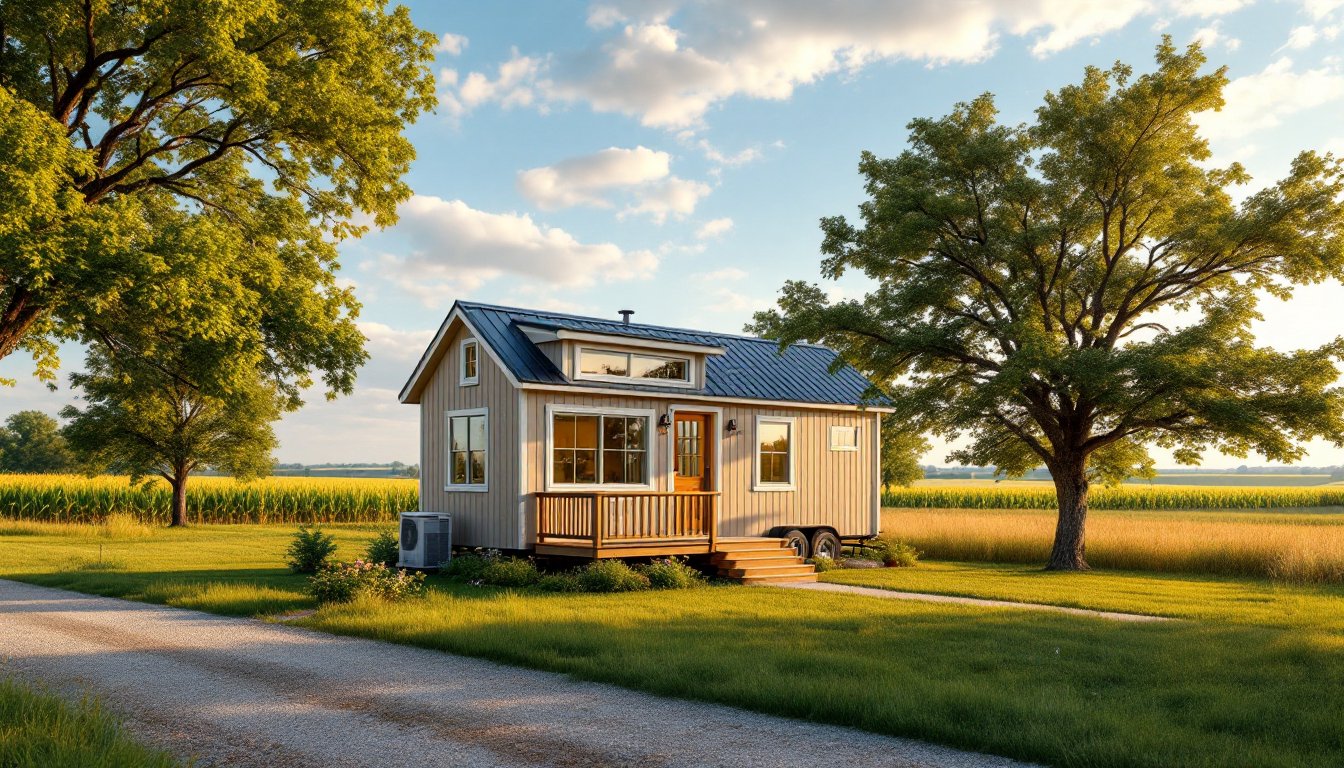
A 20×30 tiny house plan gives you 600 square feet of living space, enough to be comfortable, not so sprawling that you’re heating and cooling unused rooms. These dimensions strike a practical balance for DIYers and homeowners tired of oversized mortgages and endless maintenance. Whether you’re building on a budget, downsizing, or simplifying your life, a 20×30 footprint offers flexibility. It’s large enough for a genuine bedroom and kitchen, yet compact enough to build faster and cheaper than a standard home. The key is smart design: every inch needs to work harder.
Table of Contents
ToggleKey Takeaways
- A 20×30 tiny house plan offers 600 square feet of living space with practical construction dimensions that keep foundation costs and material waste low.
- Smart design is essential—open-concept layouts, multi-purpose zones, and vertical storage solutions make a 20×30 floor plan feel spacious and functional rather than cramped.
- DIY builders can realistically complete a 20×30 tiny house for $50,000–$80,000 in materials and labor, compared to $100,000–$150,000 for a turnkey build.
- Two popular 20×30 configurations are single-story layouts for maximum accessibility and two-story designs that stack bedrooms above for privacy and separation.
- Building permits and inspections are mandatory—work with local building departments on foundation, framing, and electrical/plumbing to meet code and ensure safety.
- Hire licensed professionals for structural calculations, electrical rough-in, and HVAC systems, but handle framing, insulation, drywall, and finish work yourself to maximize savings.
Understanding 20×30 Floor Plans and What Makes Them Ideal
A 20×30 tiny house plan delivers 600 square feet of gross floor area, roughly the size of a large garage with a second story or a single-story open layout. This sweet spot sits between a studio (too cramped for permanent living) and a 1,200-square-foot starter home (which eats into your budget and land options).
Why 20×30? The dimensions are practical for construction. A 20-foot width is easy to frame: it requires one standard beam span without complicated engineering. A 30-foot length fits most residential lots and minimizes foundation costs. Foundation work is often the biggest expense in tiny house building, keeping that footprint tight saves thousands.
These plans appeal to first-time builders and experienced DIYers alike. The scale is manageable: you’re not juggling five stories or complex roof lines. Material waste stays low because you’re not dealing with odd-sized lumber or excessive cutting. Labor costs, whether you hire help or go solo, scale favorably. Many tiny house insulation strategies and standard framing techniques apply directly to this size, so you’ve got proven methods to lean on.
Essential Design Features for Efficient Tiny House Living
A 20×30 floor plan only works if every square inch earns its keep. Poor design turns 600 square feet into a cramped maze: smart design feels spacious.
Open Concept Layouts and Multi-Purpose Zones
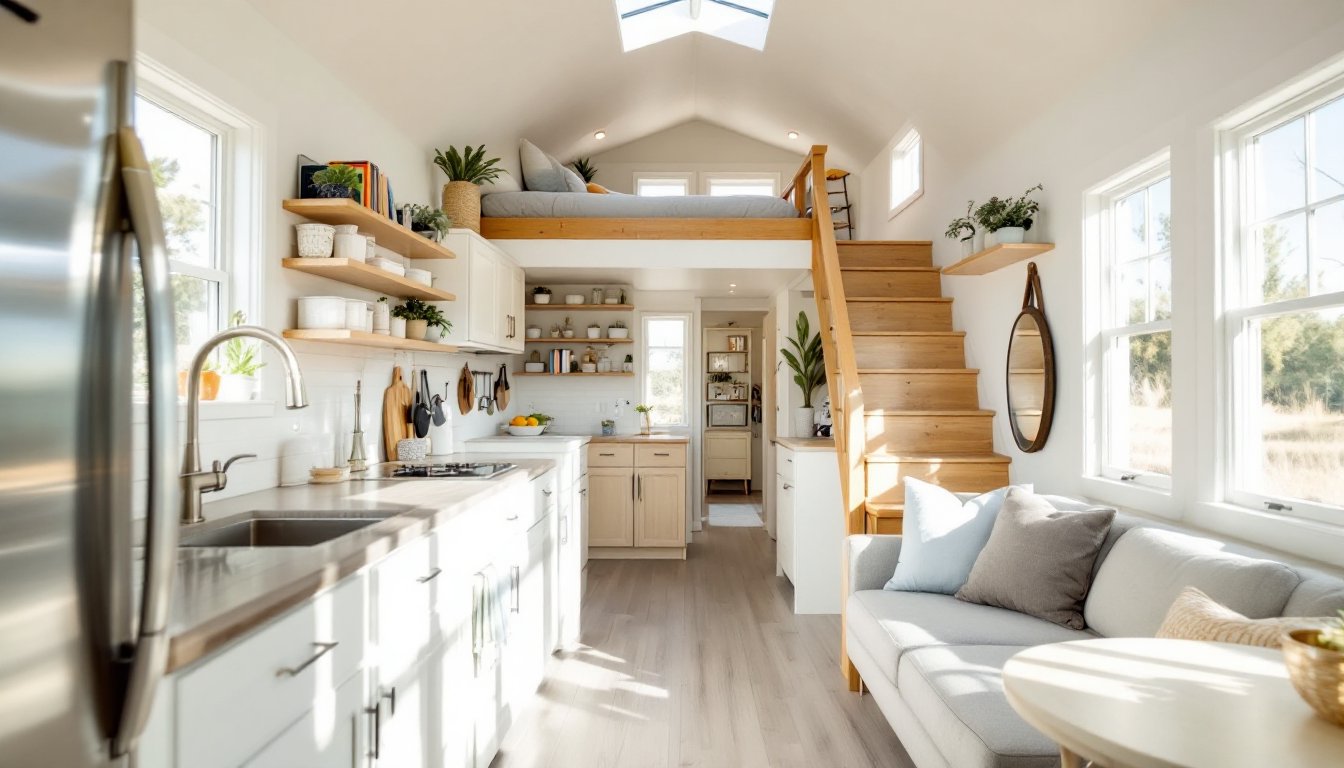
The most livable tiny house plans ditch interior walls wherever possible. An open-concept living, dining, and kitchen area, roughly 250–300 square feet, makes the space feel twice as big. Visually, you’re not chopped into fragments. Practically, light flows across the entire footground floor, cutting lighting and heating needs.
Multi-purpose zones are essential. A dining table doubles as a desk. A loft bedroom frees up ground-floor living area. A mudroom or entry becomes storage, not wasted hallway. Each zone serves two functions. Vertical living, lofts, tall shelving, wall-mounted features, lets you use height instead of sprawl. If you have a second story (a 20×30 with an upper level), bedrooms and storage stack neatly above.
Smart Storage Solutions and Built-In Organization
Tiny houses live or die by storage. Wall-mounted shelving, under-stair cabinets, and custom-built closets are non-negotiable. Open shelving in the kitchen saves space and looks intentional: closed storage in bedrooms keeps clutter hidden. Built-in benches with storage underneath replace bulky furniture.
Consider the pantry carefully, a small pull-out larder, 18–24 inches deep, saves kitchen footprint while holding supplies. Bedroom closets should be 24–30 inches deep with rod-and-shelf systems that maximize hanging and folded storage. Deep drawers under beds, fold-down desks, and murphy bed systems are common in 20×30 plans because they work. When you’re planning, think like a boat designer: everything stacks, folds, or hangs. Tiny house climate control systems can also integrate into cabinetry, saving additional space.
Popular Layout Options and Floor Plan Styles
20×30 tiny house plans come in several proven configurations. A single-story open layout keeps everything on one level, no stairs, maximum accessibility, easier for aging in place. The living area flows into the bedroom (or a partition separates it), and the kitchen anchors one corner. This layout maximizes usable floor area since you’re not losing space to a stairwell, but you’re compressed vertically.
The two-story option (typically 20×30 footprint with a 10×30 or 12×30 loft/upper floor) stacks bedrooms and storage above. The lower level stays open for living and cooking. You get proper separation between sleeping and living zones. The downside: a staircase eats 20–30 square feet downstairs, and an upper bedroom may feel tight under sloped ceilings. This layout works well for young families or couples who want distinct bedroom privacy.
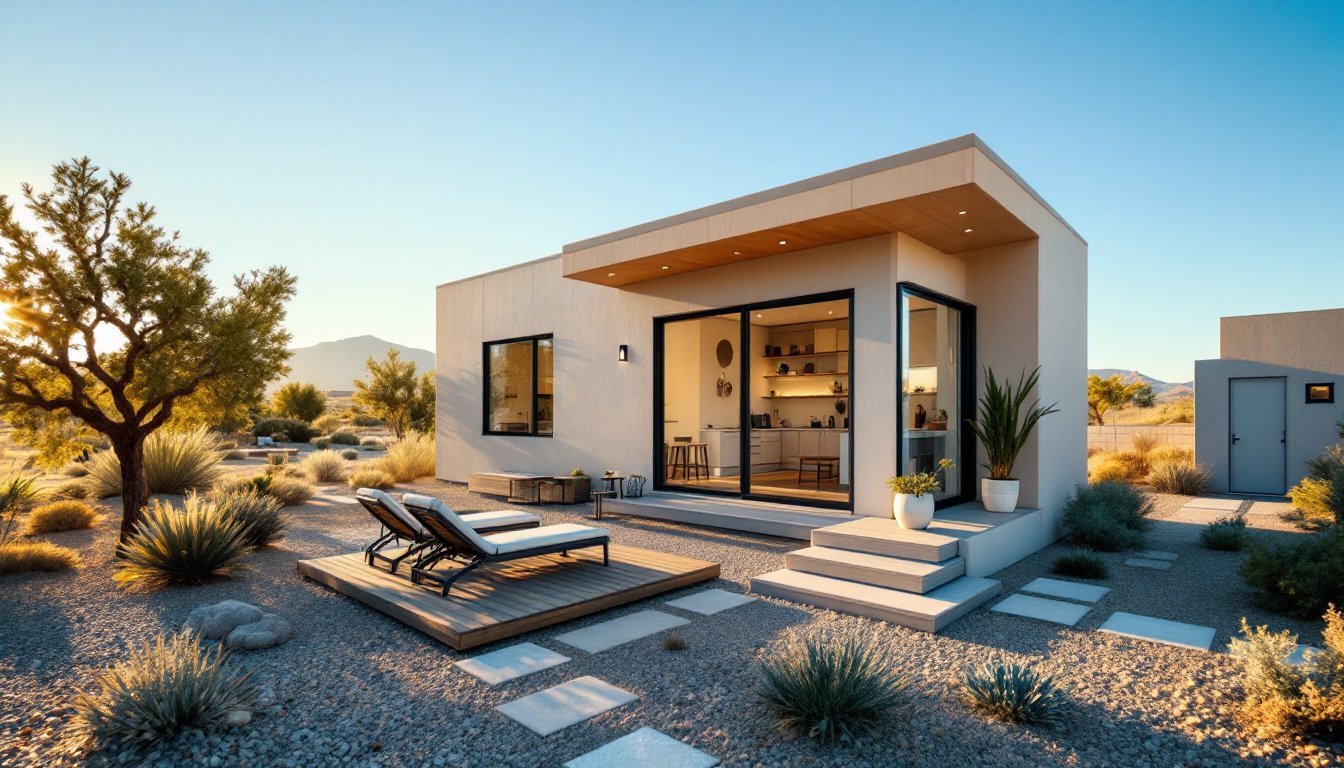
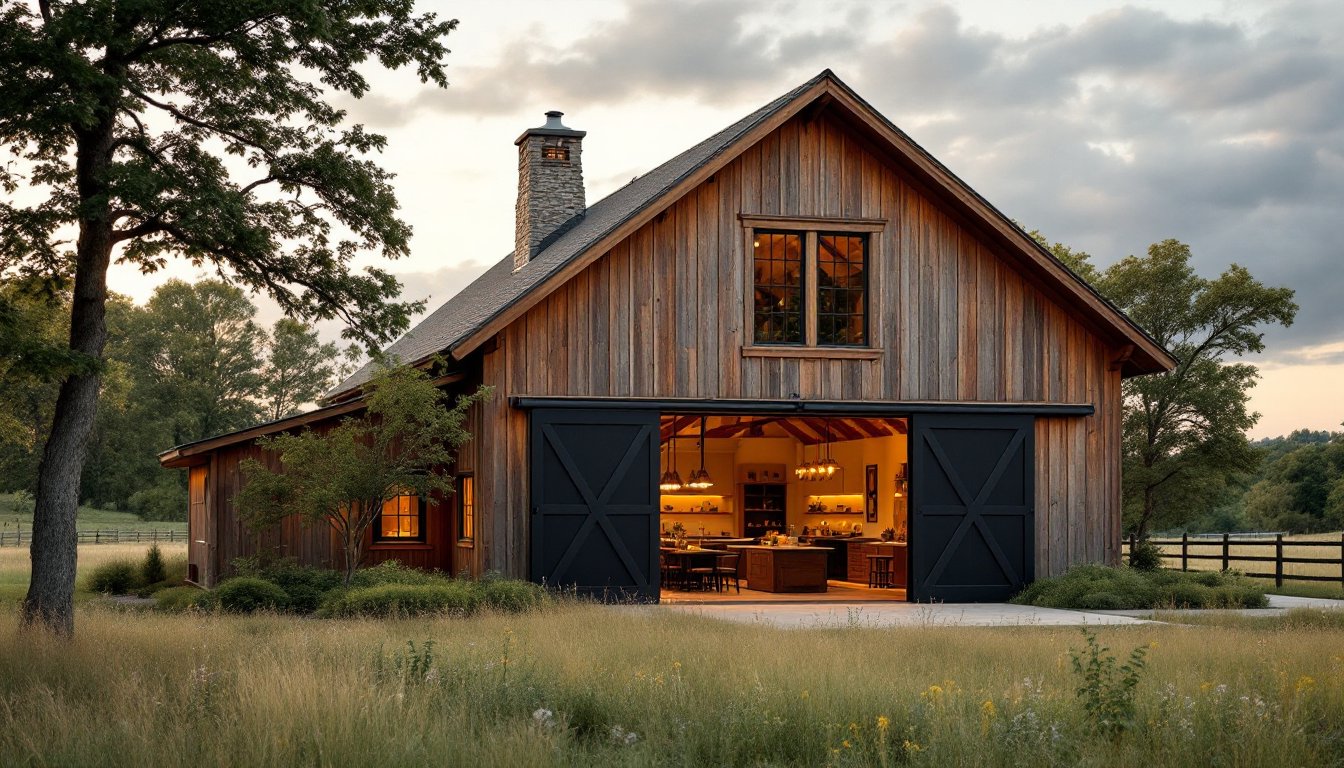
A gable cabin style (peaked roof, loft bedroom) is the most affordable to build because the roof does double duty as storage and ceiling. Framing is simple: you’re building a large shed with interior partitions. Many DIY builders favor this style because it requires minimal roof complexity.
Traditional house plans with a pitched roof and conventional framing cost slightly more in materials and labor but look like a “real house” from the curb and integrate better into residential neighborhoods. Permits are smoother in some jurisdictions because inspectors recognize the format. The best suburban tiny homes often use this approach to fit neighborhood aesthetics.
Building and Customization Considerations
Before you break ground, nail down the fundamentals. Foundation type, concrete slab, pier and beam, or basement, depends on your site and local code. A slab is cheapest and works on flat ground: it requires proper grading and drainage. Pier and beam lifts the house, allowing crawl space for utilities: it costs more but suits sloped lots. Your local IRC (International Residential Code) specifies minimum bearing capacity and frost depth, most jurisdictions require footings below the frost line.
Framing on a 20×30 is straightforward. Standard 2×4 or 2×6 studs on 16-inch centers work fine. Roof load calculations account for snow load in your region, which varies widely, check your local building department. Many tiny house builders use scissor trusses (prefab roof frames) to save labor and ensure accuracy.
Utility placement during framing is critical. Run electrical conduit, plumbing vent stacks, and supply lines before drywall. In a 20×30 open layout, you can’t hide much, so plan visually attractive runs or bury them in walls early. Consider a central water heater location, tankless units save space but require proper venting and gas/electric service.
For insulation and air sealing, prioritize the attic (heat rises) and rim joists: then address exterior walls. Quality insulation and air barriers pay back in reduced heating/cooling costs, especially in a small footprint where a few degrees of temperature swing is noticeable. Tiny house electric setup often requires 200-amp service if you’re using resistance heating or high-draw appliances.
Customization, finish colors, cabinet styles, appliance choices, should happen after the shell is tight and dry. Too many DIYers paint before they’re sure of leaks or drafts. Wait on decorative decisions until the bones are proven.
Cost, Permits, and Practical Implementation
A 20×30 DIY tiny house typically costs $50,000–$80,000 to build (labor by you, materials purchased), depending on finish level, location, and utility complexity. A turnkey build, where you hire contractors, can run $100,000–$150,000 or more. Material costs vary by region and market: lumber, concrete, and roofing have fluctuated significantly since 2020.
Permits are non-negotiable, even for DIYers. Building codes exist because corners-cut on framing, electrical, or plumbing lead to fires, collapses, or electrocution. Many jurisdictions now have a specific tiny house classification: some still shoehorn them into standard residential code, which works fine as long as you meet minimum requirements. Permit costs typically range from $300–$1,500 depending on your area. Plan for inspections at foundation, framing, rough electrical/plumbing, and final.
If you’re on a mobile foundation (wheels), zoning and parking rules change drastically, check your county and municipality. Tiny house parking regulations vary wildly: some towns welcome tiny houses, others restrict them to RV parks or rural property only.
For step-by-step design and construction guidance, resources like Fine Homebuilding offer peer-reviewed techniques, and Ana White provides free plans if you want to start with a proven design and customize from there. Both are trusted by DIY builders because they explain why methods work, not just how to execute them.
Do you have construction or electrical experience? A 20×30 single-story is a realistic DIY build if you’re honest about your limits and bring in licensed electricians and plumbers for rough-in. Framing, insulation, drywall, and finish are doable for careful builders. Don’t DIY the HVAC or structural calculations, that’s where permits and professionals protect you.